Each week, author Chris Bray lends his sharp insight and easy-to-understand analysis to help you improve your game.
Chris is the author of multiple backgammon books, including Backgammon for Dummies, and is the backgammon columnist for The Times of London.
A New Puzzle Every Week
Every Monday Chris posts an interesting backgammon position on our Facebook page. We encourage you to join in the lively discussion and return here to our website on Tuesdays to read his extended analysis.
Bray’s Learning Curve in-depth analysis is one of the great benefits of a USBGF membership.
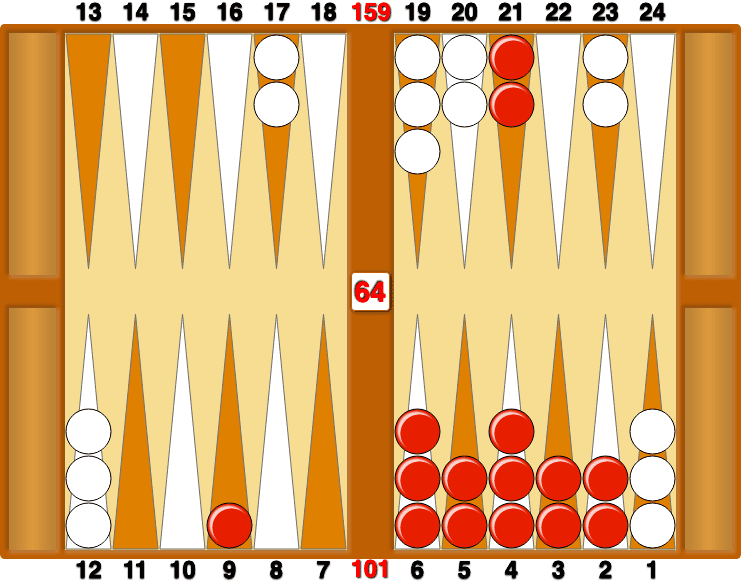
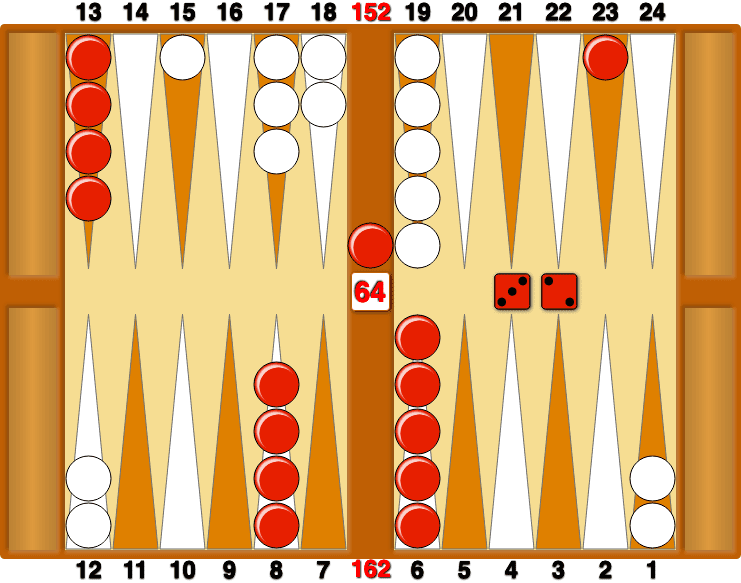
Bar/22/16 is the weakest move because the 22-pt is somewhere Red might want to build an anchor and it is more useful if the rear checkers stay in communication, i.e. within six pips of