Each week, author Chris Bray lends his sharp insight and easy-to-understand analysis to help you improve your game.
Chris is the author of multiple backgammon books, including Backgammon for Dummies, and is the backgammon columnist for The Times of London.
A New Puzzle Every Week
Every Monday Chris posts an interesting backgammon position on our Facebook page. We encourage you to join in the lively discussion and return here to our website on Tuesdays to read his extended analysis.
Bray’s Learning Curve in-depth analysis is one of the great benefits of a USBGF membership.
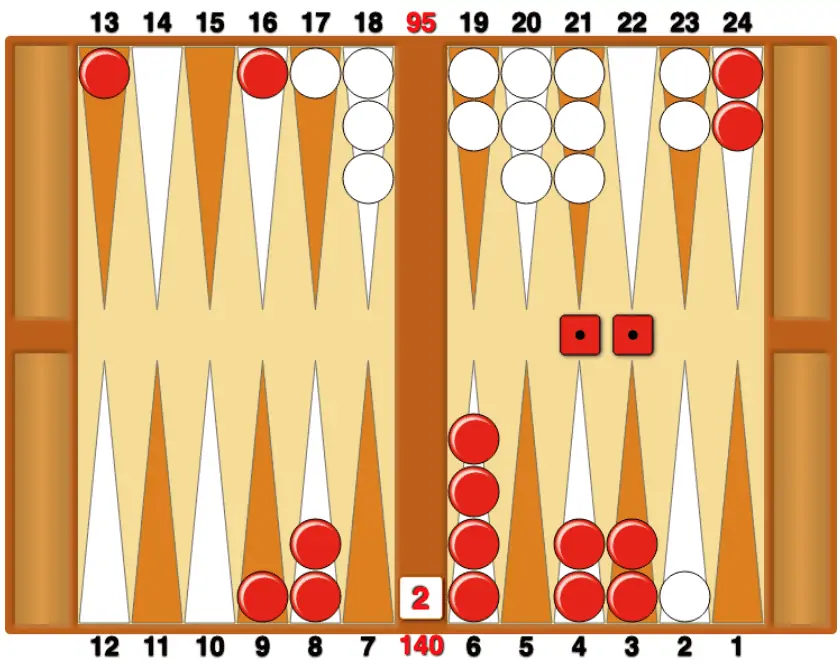
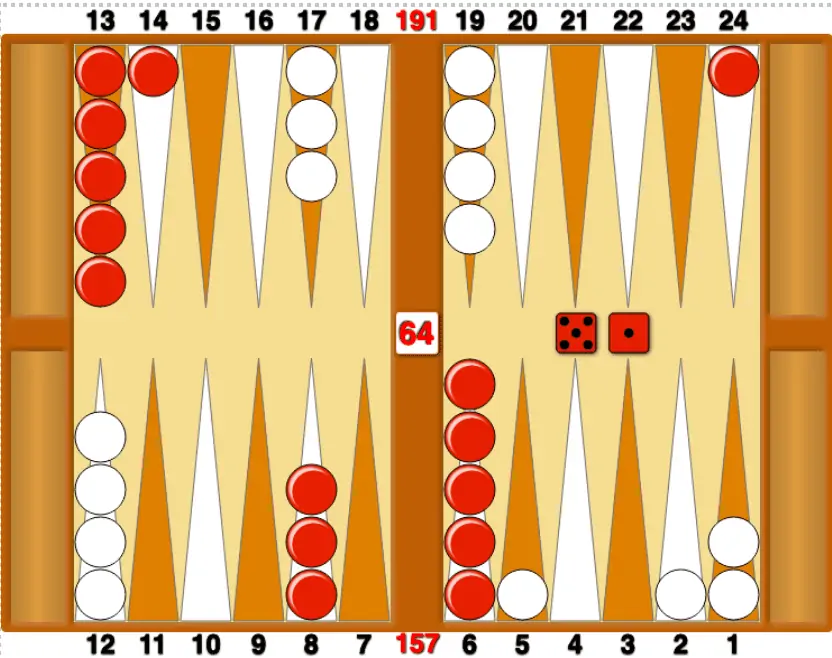
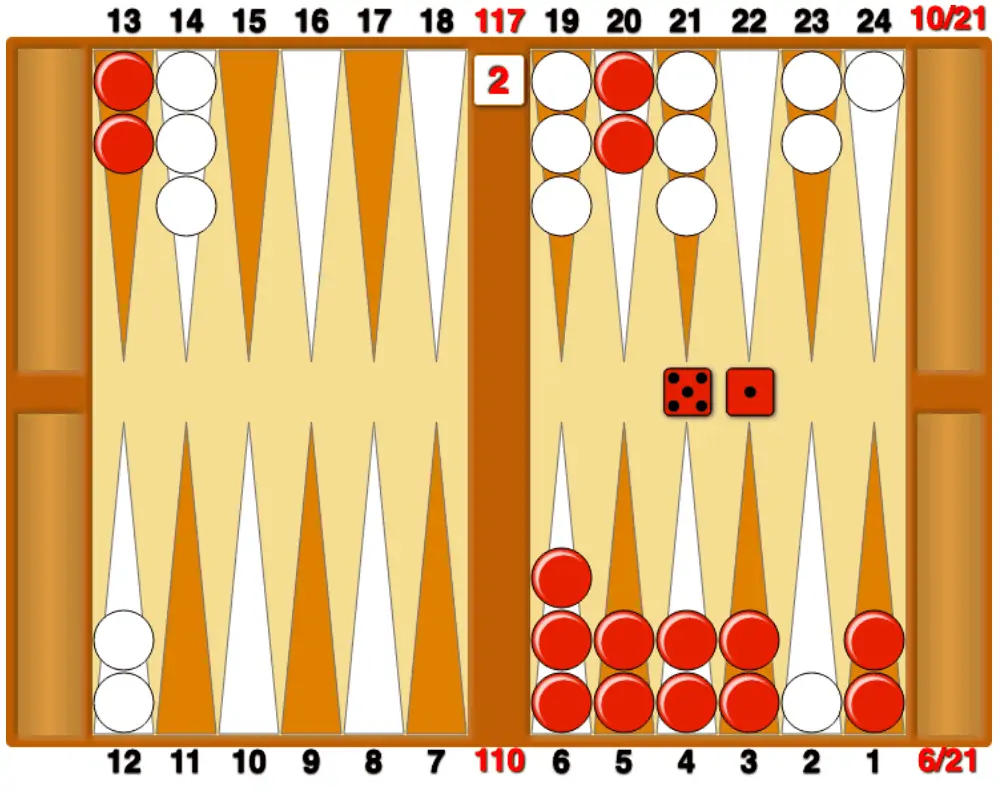
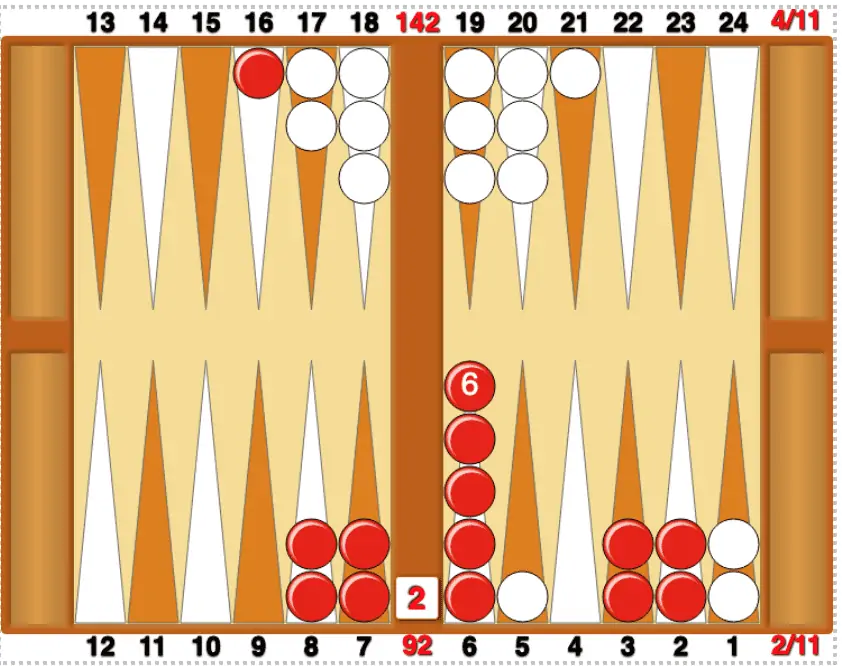
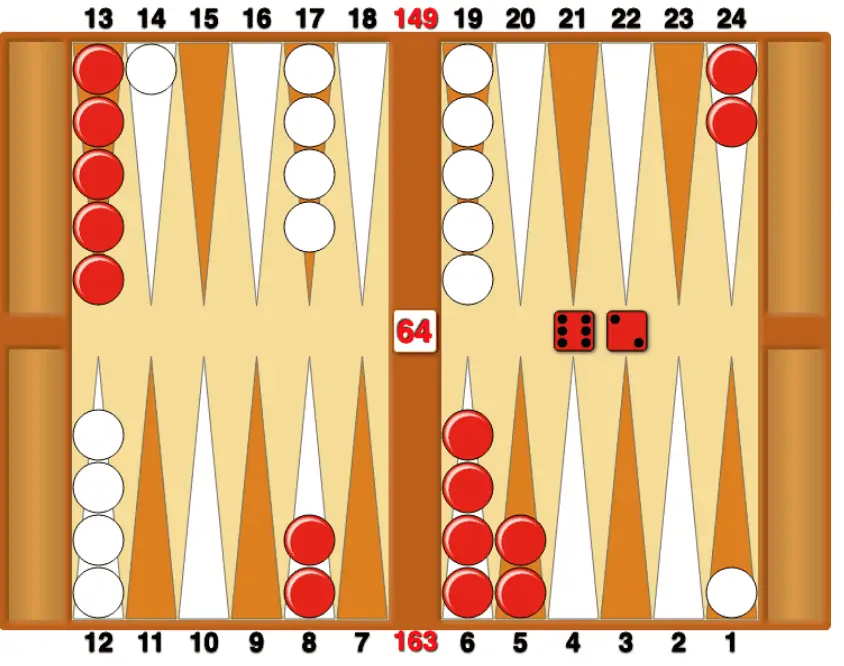
Always having a game plan is a key to winning backgammon. This is not a difficult problem if you follow that idea. Should Red be blitzing or priming here?
This position is taken from Jeff Ward’s 1982 book ‘Winning is More Fun’. Red was Nack Ballard and White was Kent Goulding and this was the final of the Las Vegas Open.